Stippling Photoshop Action
Description
Add a cool stippling effect to your photos and impress your fam! How To Install The Action: - Inside Photoshop, go to the Window' menu and select Actions'. A window will now appear on the right-hand side. - Inside the Actions window, click on the top right-hand corner icon to reveal the drop-down menu. From here select Load Actions'. Select the action which came with the download. - The action will now appear in the actions panel. How To Use The Action: - Open a photo to work with - Leave the photo layer locked and set as the Background'. To set your photo as the Background, select your photo layer and go to the menu Layer' New' Layer from Background..'. Please refer to the video tutorial if you need more help here. - Create a new layer above the background layer called effect area. MUST be all lowercase. - With the brush' layer selected, brush onto the areas of your photo that you want to apply the effect to. - Play button found at the bottom of the action panel or play : . Things To Check and Remember: - Your photo is in RGB color mode - Your photo is in 8bit color mode - This action has been tested and works on Photoshop CS4, CS5, CS6, CC to CC2019 tested in the English version - You are running the English version of Photoshop. - If you are experiencing errors, try resetting your Photoshop preferences. To do this, hold down Alt, Ctrl, and Shift keys Mac: Command, Option, Shift while starting up Photoshop. - A dialog box will appear asking if you wish to delete the preferences/settings file. - Avoid using small resolution images. For the best results, use Photos between 1500px 3000px high/wide. Chances of the action running into errors will increase the lower you go under 1000px high/wide. Photos with good color variation and contrast will work best. - Avoid brushing onto mainly black areas on a photo. The effect is not very prominent when applied to mostly dark areas of a photo. - Remember that adjusting your photo resolution will determine how wide the parts spread out. - If you run the action at 72DPI, then the parts will be quite close if you run it at 300DPI, the parts will be spread much wider. Please refer to the video tutorial for a demonstration of this. Please reach out to us in case of any queries.
Technical Details
| _GoogleCategoryID: | 5032 |
Price history chart & currency exchange rate
Customers also viewed

-4%
16%
$34.93
Adobe Photoshop Elements 2025 & Premiere Elements 2025 US (3 Years / 1 PC/MAC)
kinguin.net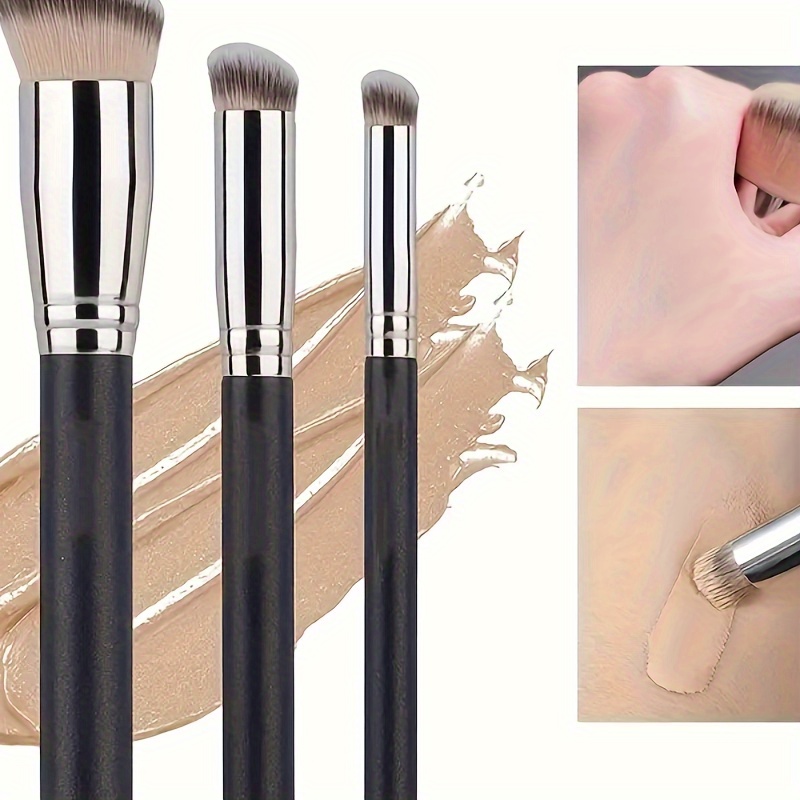
1%
$5.90
Foundation Brushes Set For Liquid Makeup, Professional Kabuki Foundation Brushes Set For Blending Liquid Cream Flawless Powder, Cosmetics Buffing Stippling Concealer
temu.com
+6%
1%
~ $39.50
LogicKeyboard Skin Cover for Adobe Photoshop CC Macbook Pro Keyboard, United States
adorama.com
+6%
1%
~ $33.90
Rocky Nook How Do I Do That In Photoshop: The Quickest Ways to Do the Things You Want to Do, Right Now!
adorama.com
1%
$6.00
Adobe Photoshop CC for Photographers, 2015 Release: A professional image editors guide to the creative use of Photoshop for the Macintosh and PC
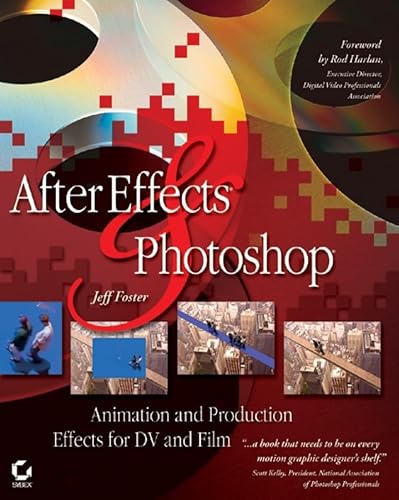
abebooks.com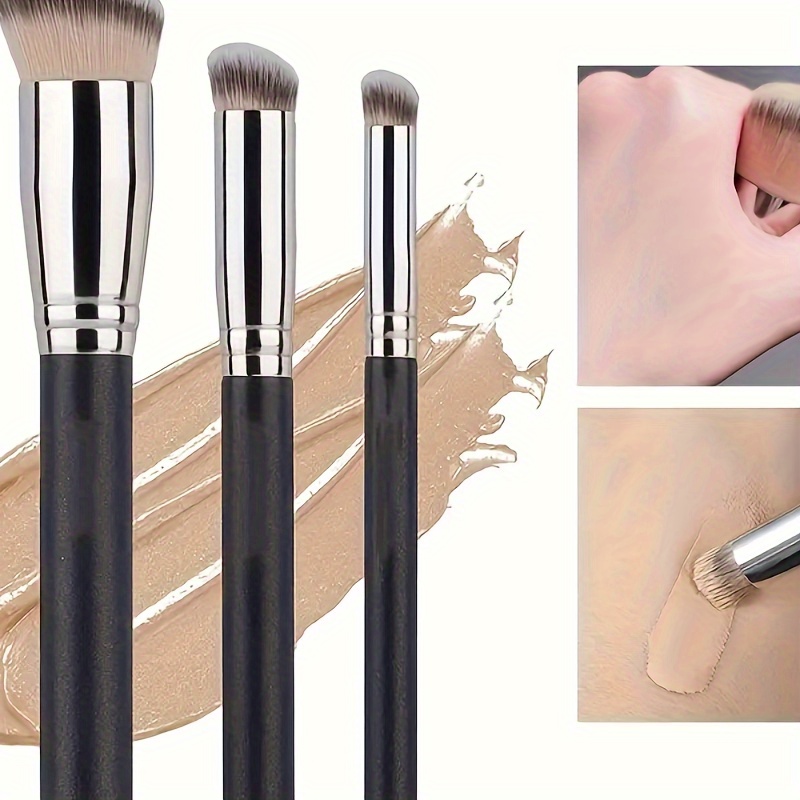
1%
$8.75
Foundation Brushes Set For Liquid Makeup, Professional Kabuki Foundation Brushes Set For Blending Liquid Cream Flawless Powder, Cosmetics Buffing Stippling Concealer
temu.com
+6%
1%
~ $32.80
LogicKeyboard LogicKeyboard LogicSkin Adobe Photoshop CS3 Skin for MacBook Air, MacBook, MacBook Pro US Keyboard
adorama.com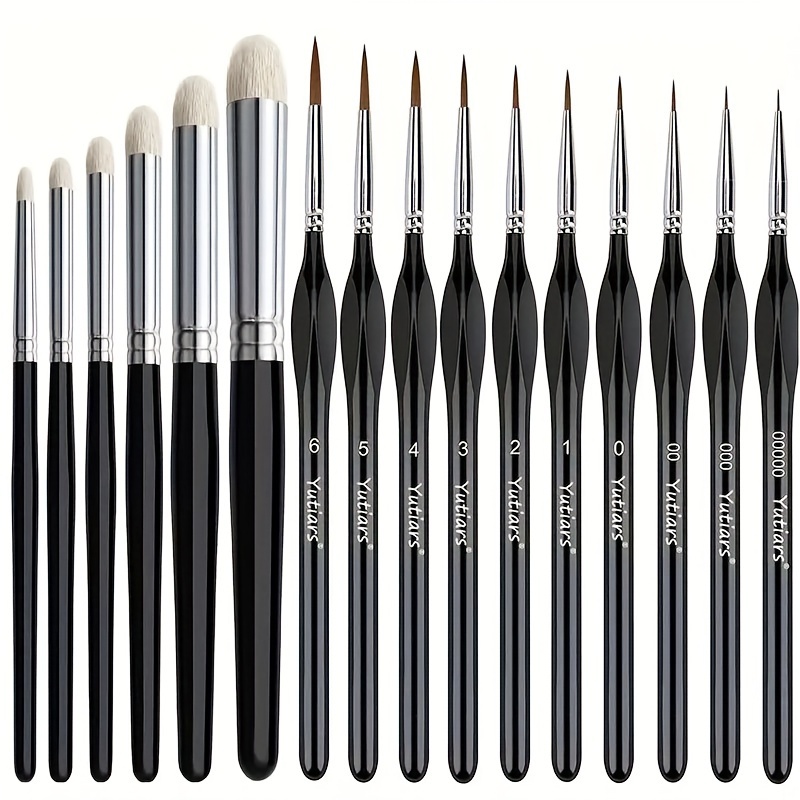
-15%
1%
~ $10.70
Yutiars Premium Goat Hair Drybrush And Stippling Brush Set: Dense, Semi-stiff And Springy Bristles For Fine Detailing In Art Painting
temu.com
-46%
1%
~ $5.90
Yutiars Premium Goat Hair Drybrush And Stippling Brush Set: Dense, Semi-stiff And Springy Bristles For Fine Detailing In Art Painting
temu.com
-6%
1%
~ $9.65
Yutiars Premium Goat Hair Drybrush And Stippling Brush Set: Dense, Semi-stiff And Springy Bristles For Fine Detailing In Art Painting
temu.com
1%
$5.41
Adobe Photoshop Elements 2021 Introduction Quick Reference Training Tutorial Guide (Cheat Sheet of Instructions, Tips & Shortcuts - Laminated Card)
abebooks.com
+6%
1%
~ $28.30
Rocky Nook The Enthusiast's Guide to Photoshop: 64 Photographic Principles You Need to Know
adorama.com
+6%
1%
~ $33.90
LogicKeyboard LogicKeyboard LogicSkin Adobe Photoshop CS3 for Apple Ultra Thin Wireless US Keyboard
adorama.com
-15%
1%
~ $9.00
Yutiars Premium Goat Hair Drybrush et Stippling Brush Set : Poils denses, semi-rigides et souples pour les détails fins dans la peinture artistique
temu.com
-4%
1%
$10.56
Yutiars Premium Goat Hair Drybrush And Stippling Brush Set: Dense, Semi-stiff And Springy Bristles For Fine Detailing In Art Painting
temu.com
-18%
1%
$8.80
Yutiars Premium Goat Hair Drybrush And Stippling Brush Set: Dense, Semi-stiff And Springy Bristles For Fine Detailing In Art Painting
temu.com
+6%
1%
~ $39.50
LogicKeyboard Adobe Photoshop CC LogicSkin Cover for American English MacBook Keyboard
adorama.com
+6%
1%
~ $22.60
LogicKeyboard LogicSkin Photoshop CS4 for Apple Ultra Thin Aluminum US Keyboard
adorama.com
+6%
1%
~ $22.60
LogicKeyboard LogicSkin Photoshop CS3 Skin for Apple Ultra Thin US Keyboard - Transparent
adorama.com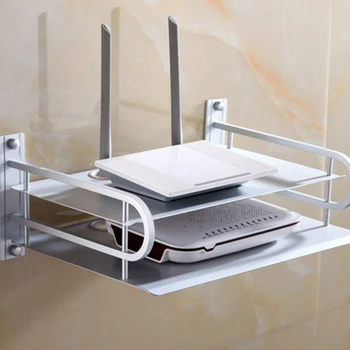
1%
$17.20
AMS-Thick Aluminum Alloy Wall Mount Bracket TV Box Bracket WiFi Router Set-Top Box Bracket
aliexpress.com
1%
$16.99
European Luxury Fruit Plate Tray Court StyleResin Craftwork Fruit Basket Storage Tissue Box Classical Display Home Decoration
aliexpress.com


