Auto Leveling Adjustment High Speed Sensor For DIY 3D Printer
Description
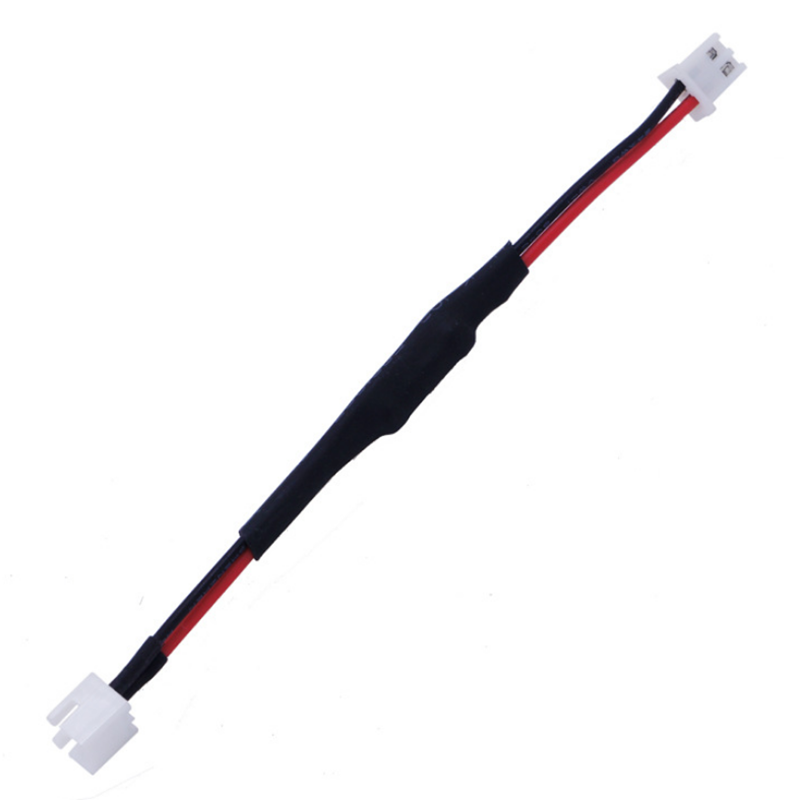
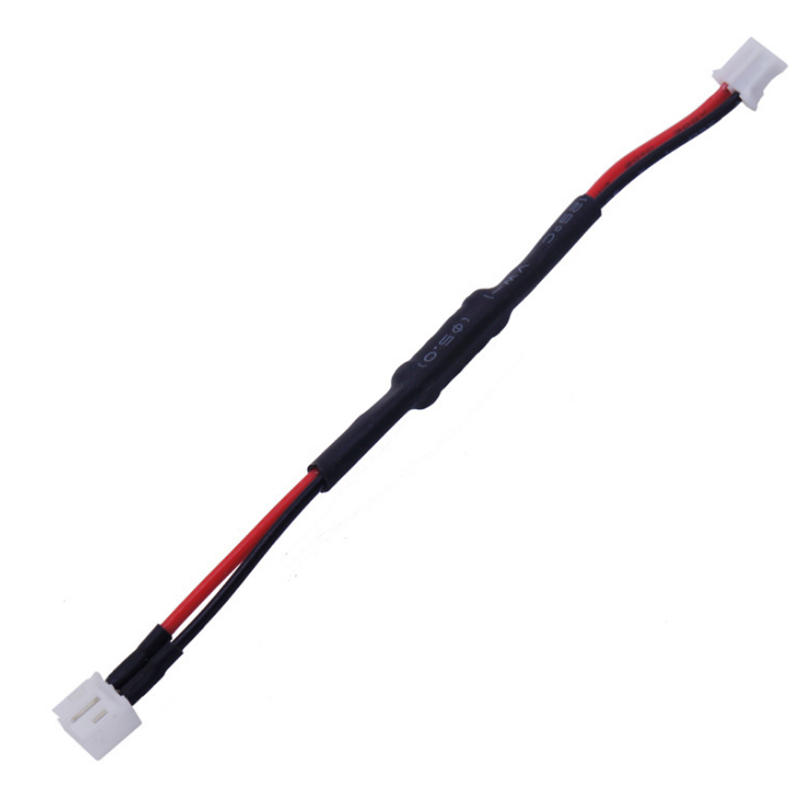
Features: 1. Easy to be used. Suiatble for different types of 3D printers. 2. Easy design and convenient to maintain. 3. No need to debug, the default trigger distance is automatically to be 0.1MM. 4. High precision, leveling repeatability can be 0.05mm. 5. Anti-interference ability. Not affected by platform material, ambient light, environmental temperature and humidity. Note: Do not use the leveling sensor when the nozzle temperature is higher than 45 degrees Leveling Setting Steps: 1. Click and enter the "Advanced Settings" tab in the Model settings. Set the number of leveling points to 0 in the "Auto-leveling Settings" tab, namely, to turn off the automatic leveling function first. And then adjust the "Z-axis moving distance" in the XYZ model or the Corexy model settings or the "Print height" in the Delta model settings, to make sure there is still about 1mm between the print head and the platform when the print head move to the Z-axis position 0 after homing 2. Click and enter the "Advanced Settings" tab in the model settings, set a value greater than 2 for the number of leveling points in the "Auto-leveling settings" tab. As mentioned above, the actual number of detected points is equal to the square of the set value. The larger the value is (the maximum value is 9, namely 81 points) the more the leveling prove points are; and the finer the printing platform is divided, the better effect of leveling it will be, especially for a printing platform with significant deformation. Recommended setting is 4, namely 16 points for leveling. The trigger mode of the probe is set to "H"(high-level trigger). The offset of XYZ axes are set to 0. No need to set the open and retract angle of the probe. Exit to the main interface to save the leveling settings. 3. Put the pressure leveling probe on the print head. Enter the control interface, click the "leveling" tab, the printer will do automatically homing, and then select "Auto Leveling" the printer will automatically calculate the prove positions based on the printing area set, and then it will process the leveling action. After all the prove points are sampled, the printer will finish the leveling data acquisition and will automatically do homing. 4. Exit to the "leveling" interface, and remove the pressure leveling probe from the print head to complete the automatic leveling. Manually move the print head to the Z axis in 0 position, check whether the system has automatically adjusted the 1mm gap reserved or not. If there is still a relatively small gap at this time, it is due to the thickness of the film pressure probe itself. It can be modified by setting the "Z-axis moving distance"(XYZ models or Corexy models) or the "Print Height"(Delta models) to erase. Or set the thickness value (can be measured with a vernier caliper) of the film pressure leveling probe to "Z-axis direction offset" in "Auto-leveling" and then do auto-leveling again. Package Included: 1 x Leveling Module 1 x 1M Signal Cable
Price history chart & currency exchange rate


